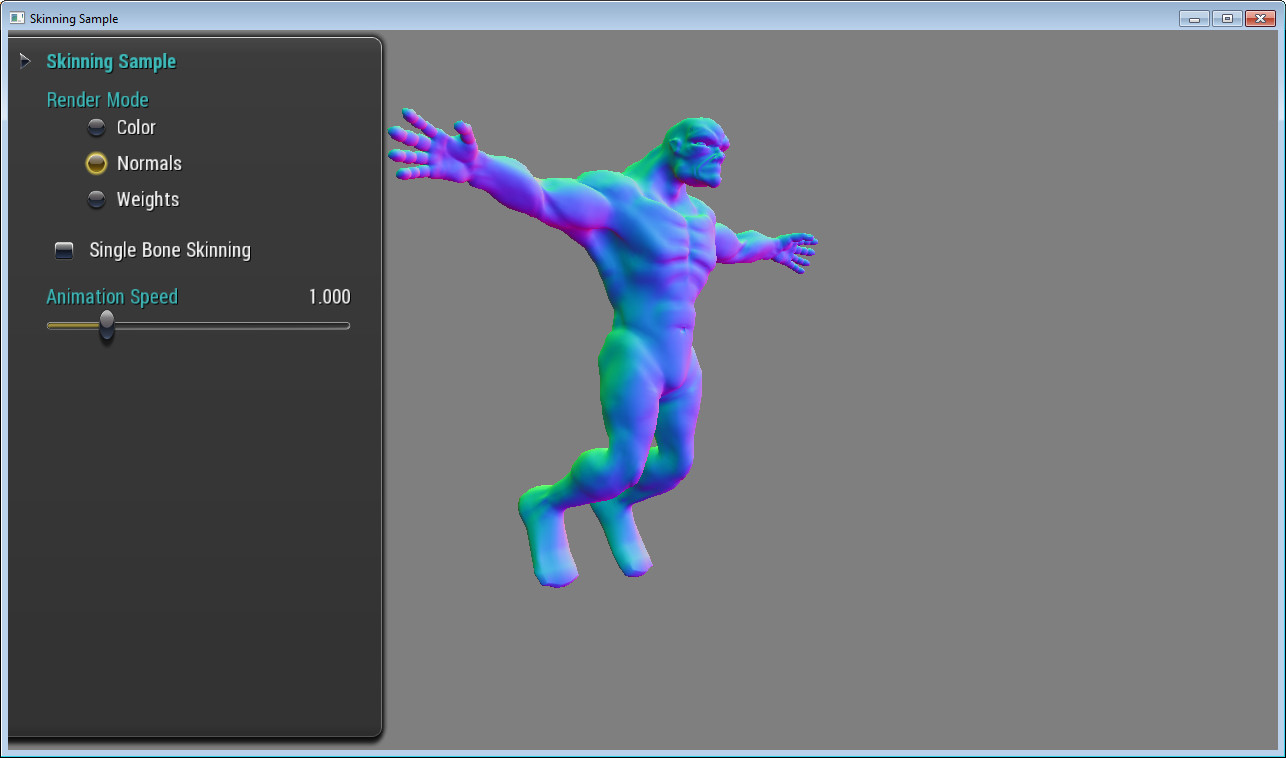
Skinning Sample
Description
This sample demonstrates how to render skinned meshes using both one or two bones in a vertex shader. Skinning allows organic shapes (such as humans) to deform nicely around joints as they bend. Without skinning, joints have a rigid appearance that is more similar to a mechanical joint like you would see in a robot.

APIs Used
- OpenGL ES 2.0
Shared User Interface
The Graphics samples all share a common app framework and certain user interface elements, centered around the "Tweakbar" panel on the left side of the screen which lets you interactively control certain variables in each sample.
To show and hide the Tweakbar, simply click or touch the triangular button positioned in the top-left of the view.
Technical Details
Skinning methods
- Two bone skinning
- Each vertex is affected by one or two bones. The amount of the skinning effect is scaled by the weights for each bone.
- One bone skinning
- Each vertex is affected by only a single bone. This doesn't lend itself to a very high quality result.
Adjustable Options
The TweakBar features the following options you can adjust:- Render Mode radio buttons
- This allows you to cycle between:
- Rendering the diffuse color for the mesh
- Rendering the normal for the mesh
- Rendering a visualization of the bone weights
- This allows you to cycle between:
- Single Bone Skinning checkbox
- This allows to switch between Two Bone Skinning and One Bone Skinning.
- Animation Speed slider
- This allows you to speed up, slow down, and stop the animation.
Conclusion
Skinning is a good way to improve the quality of animated, organic meshes at a reasonable vertex shader cost.